Over Christmas vacation, I completed all the component mounting
on my MFOS Ultimate board.
Over the next several months I'll be building what is definitely
my most complex electronics project to date: the MFOS (Music From
Outer Space)
Sound Lab Ultimate,
Ultimate Expander and (if Santa brings one)
Sound Lab Mini-Synth Mark II, likely all in the same home-made
wooden case, side by side. The Ultimate and Expander are together a
3 oscillator monophonic true analog synthesizer with filters,
envelopment generator, ring modulator, sample and hold and more.
You patch between the different logical modules using banana
cables, so it's a bit of a self-contained modular synthesizer. The
Mark II is smaller, newer, and has a few fewer features, but a
sound of its own. You also patch that with banana cables, and can
integrate the two. This blog post is another in the series.
Previous posts include:
The board now has installed all the capacitors, resistors,
diodes, ICs, trimpots, and transistors specified in the parts
list.
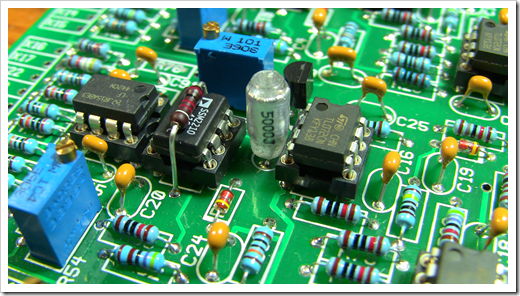
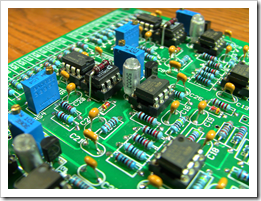
Here's the overall shot of the board. For the most part, I tried
to use the best components I could reasonably get. One place where
I decided to spring for a little bit better was with capacitors 49
and 50 in the filter. I don't have a DMM sensitive enough to
measure pF capacitance, so I couldn't measure and match those.
There are circuits you can build which will let you measure
capacitance, but I'm not particularly interested in building one.
Instead, I sprung for 1% tolerance capacitors figuring that will
get them pretty darn close.

A thing of beauty!
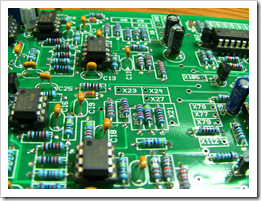
Here's a shot of one of the three oscillators. You can see the
2k ohm tempco (temperature compensating) resistor mounted over the
SSM2210. I don't have any appropriate thermal or potting epoxy
around, so it's just touching it right now. I'll bed it once I test
everything and I pick up the epoxy.
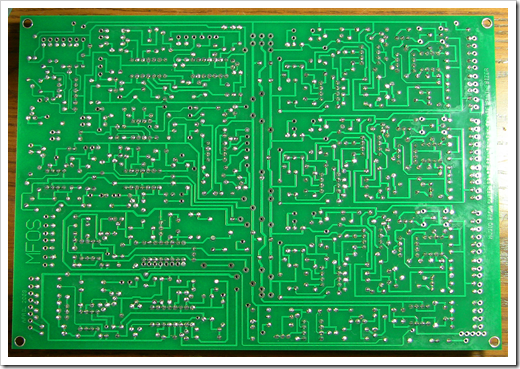
After I took these photos, I cleaned the bottom of the board
using Flux Off Rosin Flux remover by Chemtronics.
What a mess! It took the whole 10oz can to clean the board (at $17
a can!), and then it still (due to the "X" holes) redistributed
some of the sticky flux to the component side. Once I finished up
the can, I managed to get almost all of the flux off the top, and
all of it off the bottom. Still, what a mess. You have to spray
enough of the remover on to liquefy the flux and run it off the
board. Any dissolved flux which stays on the board simply spreads
out. That stickiness, if not removed, will attract dust and dirt,
making more of a mess of the board.
I'll give it this: the bottom *did* get clean. The burnt flux
from removing a couple mistakes (one transistor soldered backwards,
for example) was all washed off, as were the sticky hard globs of
resin.
Of course, this is before I solder on all the front panel wires,
so there will be flux from that too.
Flux can be corrosive over time, not to mention ugly, so it's a
good idea to clean it off. Other approaches to consider include
using 99% alcohol if you can get it. I just ordered order some of this, because it is likely the
same type of stuff for less than half the price of the Flux
Off.
Rosin flux is more benign than most, and actually cures hard to
entrap the contaminants. Don't get water washable flux unless you
intend to do a really thorough job cleaning the board. Typical
water washable flux is highly corrosive if only partially
cleaned.
I've also heard that the particular solder I used for this
project (60/40 from Radio Shack) tends to have quite a mess of
flux. Folks have recommended Kester 44 Rosin Core 63/37 as a better
replacement with both more stable soldering (less time in the
intermediate state) and cleaner flux. I have some on order for the
next few boards :)
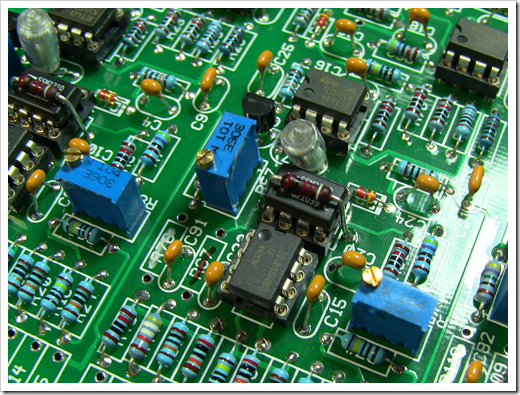
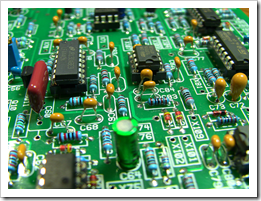
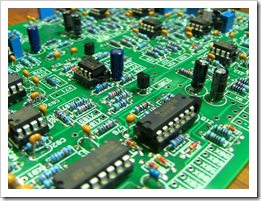
Here are a few more glam shots of the board
For the next step, I'll either work on testing and calibrating
the oscillators here (which will require building the 1V/Octave
test board), or I'll start wiring some of the panel. Whatever I end
up doing, I'll be sure to write about it here :)