I enjoy playing with synthesizers, and I adore my C64. What
could be better than putting them together? Putting them together
yourself from a kit :)
A while back, I ordered a Sammich SID kit. I didn't have time to
complete it at the time, so it sat on the shelf. The stopping point
was when I put a transistor in backwards and had to order a
replacement and desolder the original. I ordered it, but let the
project sit for a bit as the through holes were plugged and it's
not like you can just heat the heck out of a transistor lead and
push it through.
Midibox is more than SID
The Midibox
project (or projects) is a modular system for building all
sorts of MIDI devices. Not only are there a number of variants of
the SID synthesizer, but also FM-based
synths using old ICs off of Soundblaster cards, sequencers, drum
machines, MIDI processors, monitors, controllers and much more.
The system is really flexible and has a great community built
around it. All DIY.
Well, I've just completed it the PCB and control surface, and I
couldn't be happier. Here are some pictures.
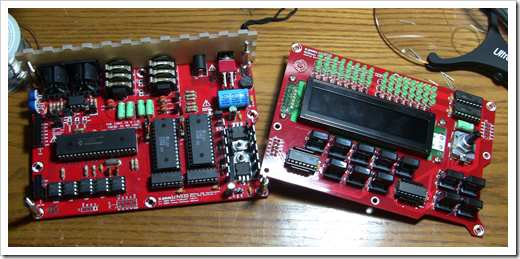
This first picture shows the two boards after testing and with
all the ICs installed. The synthesizer comes as two boards (base
and control surface), a kit of components, laser-cut plexi
enclosure, and some hardware. Soldering and assembling it is all up
to you. However, there is an excellent build guide with
step-by-step instructions suitable for beginners and pros
alike.
Here's a time-lapse video of one person assembling the sammich
SID. You can get a feel for the layout of the board and the number
of components. It may seem like a lot, but compared to many other
synth kits, this one is relatively simple, and great for folks just
getting started.
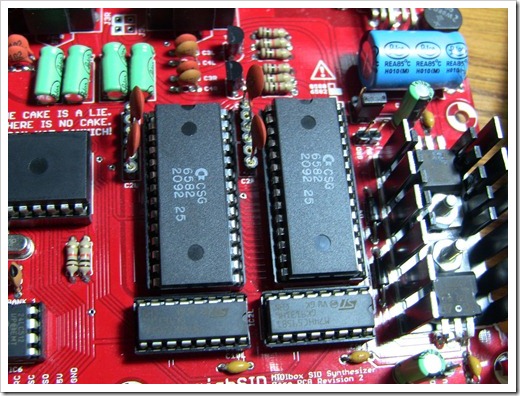
What makes this guy hum (literally, in some cases since the SID
is a bit noisy) is a pair of 6582a SID chips. This is the later version
commodore synthesizer chip, as used in some of the later products
starting in the very end of the 80s and early 90s. The kit supports
the earlier higher voltage 6581 chips as well - the ones in just
about every breadbox C64 and Commodore 128 made. Those are far more
common, but also have a lot more variation from chip to chip. Here
are the two chips in my build.

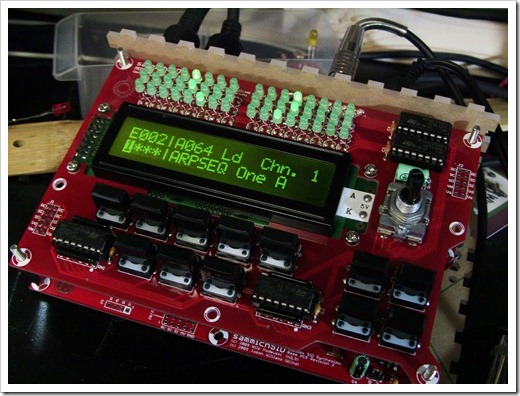
Here's the device running, attached to my setup here at home.
Dig those groovy LEDs on top. That was a lot of rapid soldering to
avoid toasting them :)
After that, all I had left was to troubleshoot and make sure
everything was working fine, and paint the lettering on the
enclosure. Now that that is done, I can wrap it up and start on the
next one (Oh hellz yes I *did* order a second one, black this
time). Of course, I'll need to wait a few weeks for it to post from
Australia. I'm also kicking around some other ideas now that I have
a better understanding of how to interface with and control a SID
without a C64 being involved.
The completed box with painted infill lettering looks like
this:
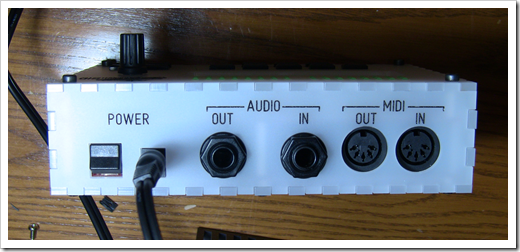
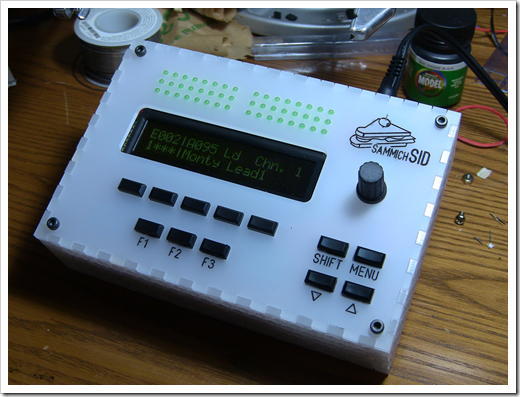
My painting isn't perfect, but the laser-cut paper-covered body
made it easy to do a decent job of it.
My thanks to the folks in the Midibox
forums who helped me out when I thought I had a short in the
board. Turns out, I just need to learn how to use a multimeter when
rectifiers are involved. And a HUGE thanks to Jason Williams
(Wilba) for putting together this fine kit.
Want to know what the Sammich looks and sounds and looks like? I
have the white "Arctic Frost" version, but here are some other
builds. The first has some music. Everything but the drums is
coming from the Sammich SID. Yes, those are Commodore SID chips
making those amazing sounds.
And here's another
Of course, it will also be fun to try out SID Player mode and
download some SIDs to play on the real hardware, but in stereo:
This one is fun too
I'm still learning electronics. This kit was pretty easy, but
just challenging enough to give you a good feeling of
accomplishment at the end. Plus, it's one sexy kit.
