
I have a Fijit friend. There, I said it. I have a toy targeted
to 9 year old girls. I have a toy my kids want. I have a toy I'm
about to butcher in the name of …er … science.
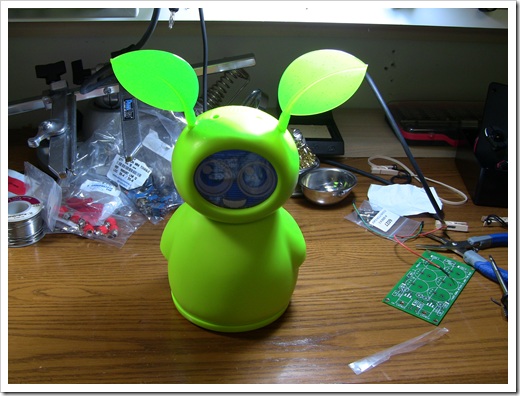
There. Doesn't she look so innocent and happy? You know, I
bought this before they were a "hot toy" for Christmas 2011. If
that makes me a hipster, pass the glasses. (And no, I didn't pay
the outrageous prices people are asking for them now)
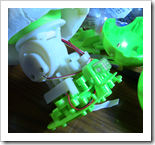
Starting with the Body
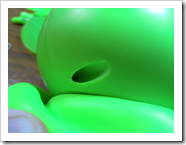
The body is made up of a flexible silicone outer shell, an ABS
bottom, and a soft foam fat layer.
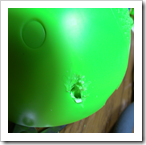
The body uses those wonderful triangle screws at the bottom. I
you don't have a compatible screwdriver already, order this ASD3T
one from Amazon.

Remove those four screws and also the two holding the battery
cover, and the bottom will just pop off.
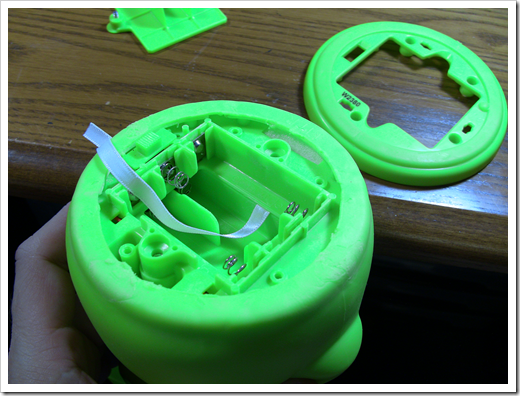
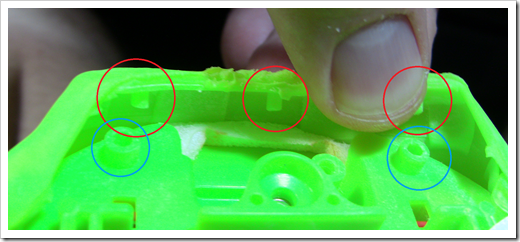
On four sides, the skin is held to the bottom using simple pegs.
The sides use either two or three of the pegs to attach to the
bottom. And yes, now I see that this green color is not in the
sweet spot for my camera. Sorry about that.
Peel that up, and you'll get to the fatty layer.
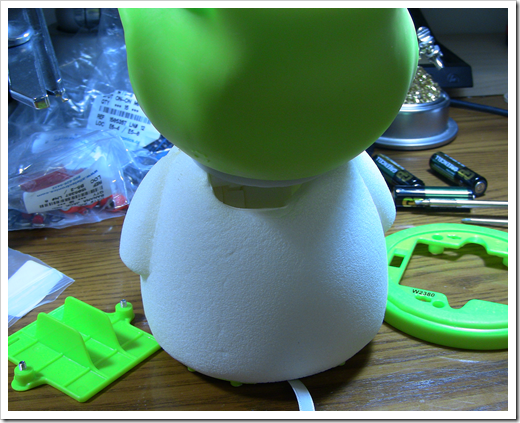
The foam doesn't fold up the same way as the skin. It has a glue
seam you can break if you want, but I didn't want to do that.
Instead, I wanted to be able to pull it up over the neck. To do
that, I needed to remove the head.
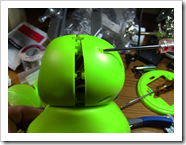
Crack Yer Head
The head has two halves: front and back. Four plastic dowel
screw covers on the head are glued in place.

Ok, the first one came out with little trouble. They must have
run out of glue for that one. The others were a disaster. I did
quite a butcher job on the back of the head. I honestly think it
would be easier to drill those out if you want to get inside this
wee beasty with a minimum amount of damage. In three out of the
four, I had to leave part of the dowel in place, but jam the
screwdriver through the hollow center to unscrew the top. This kept
the screw captive, but that was ok.
Because this was mine, I only felt a little bad about it. If
this is your kid's toy you're dissecting, I'm pretty sure you're
going to hell for this.
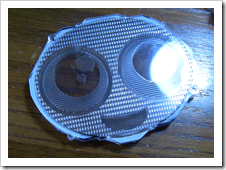
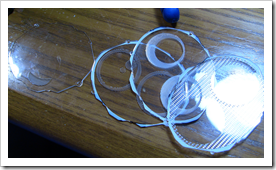
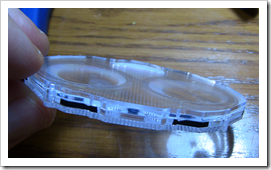
Steal your Face
I was impressed with how the face is done. It's actually four
layers of acrylic with a Fresnel effect for what they want to light
up. Around the perimeter of the face is a band of colored SMD LEDs
on a flexible ribbon board. The LEDs turn on in certain locations
which causes the fresnel acrylic on a particular layer to light
up.
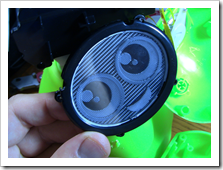
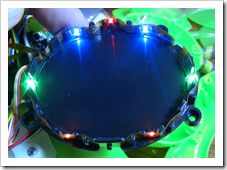
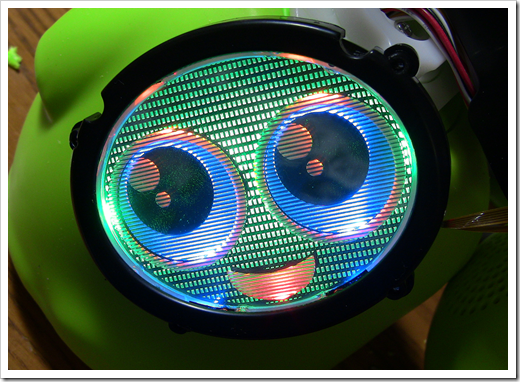
The net effect is a nice and colorful face, and even some
"winking" motion handled by turning on and off certain colors. It
would be interesting to get a few pieces of acrylic on my mill and
see if I could duplicate this effect; it makes for a nice way to
light up a robot face, albeit with limited expression.
The LEDs don't appear to have any sort of dedicated controller,
just some discrete components you'd expect to find with a string of
LEDs.

As interesting as the face is, let's look at what's powering
it.
Mmmmm Brains
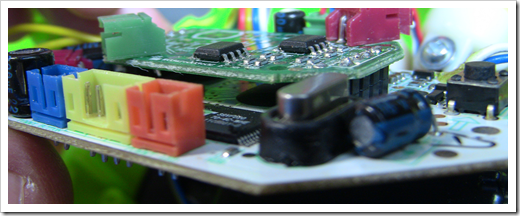
The daughter board is soldered on top of the main board, and
appears to be responsible primarily for motion.
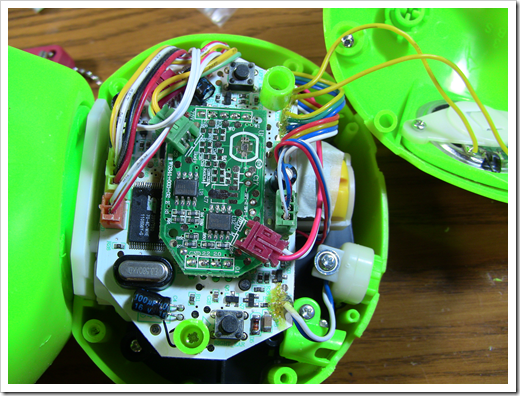
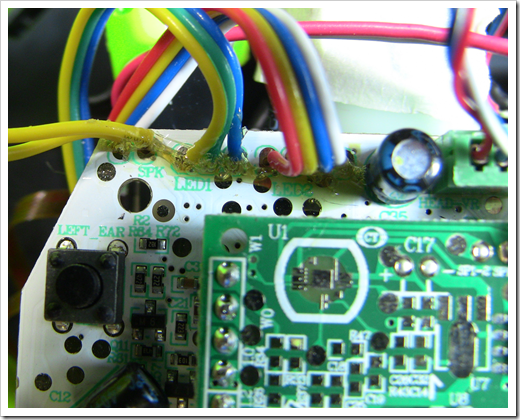
The board has a number of test and/or programming points. A few
are labeled, but most are not. Fortunately, the plug connectors are
all labeled. I'm pretty sure this is the first time I've ever seen
"Tummy" silkscreened on a PCB.
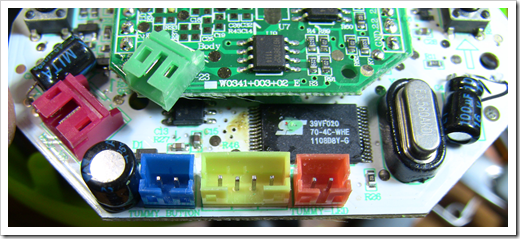
The larger chip you can make out on the main board is an SST 39VF020
256x8 2Mbit flash. There's a bunch of gunk on it too. Yuck.
You'd think with that much flash memory, they could have added a
few more jokes.
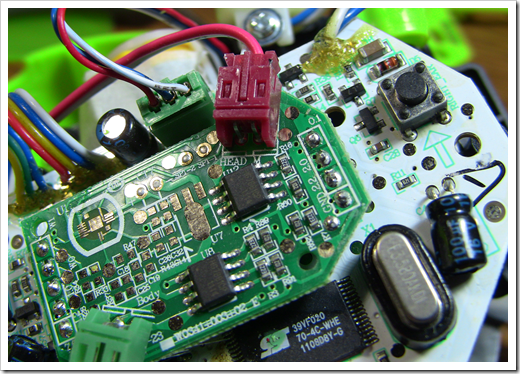
The two 8 pin chips on top are labeled HG7881CP 1114. I'm
guessing these are for motor control.
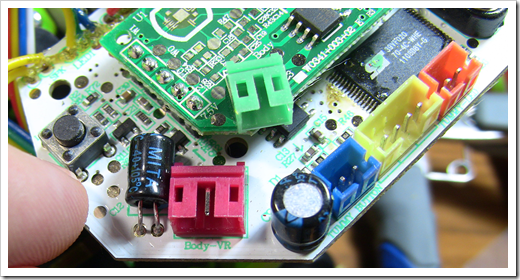
U1 is interesting. Presumably those are pads for testing or
maybe the main programming pads?
Looking at that nasty glue, I'm guessing that's the source of
the brown gunk. Still can't be sure, though.
Here's the underside of the main board. There's a lot more brown
gunk here. Not sure if that gunk is grease, flux, or some residue
from the hot glue gun. It's messy and unprofessional in any case.
It is interesting that they decided to put components on both
sides. I understand that is generally more expensive than
single-sided boards. Add to that the amount of hand-soldering also
in this board, and it has to have been relatively expensive to
manufacture for its size.
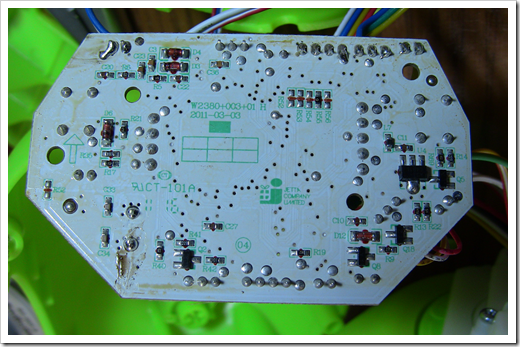
That empty spot in the middle with the 6-grid is right under
some potted chip on the other side.
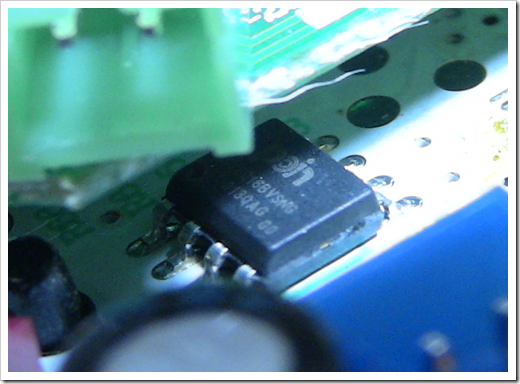
On the lower layer, you can see part of a chip labeled
PT25Q16BVSNG with a brand name: PON or POIN or something like that.
This
otherwise helpful site didn't list them, neither did
this one. This
site, which doesn't seem to be derived from the same data, also
failed me. Here's the best photo I could manage:
There's also something potted in epoxy in the center of the main
board, under the daughter board. Presumably this is the MPU. I hate
it when they do that. I would liked to have known what the board
was running.
Back to the Body
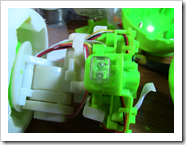
I decided I didn't want to take apart the gears and motors in
the head and body. There are a number of them in there, but quite
honestly, they're not exactly RC servos, although they look pretty
close. Looking at the wires, I'm fairly certain a couple of them
have encoders, for example.
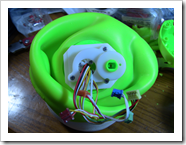
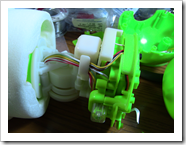
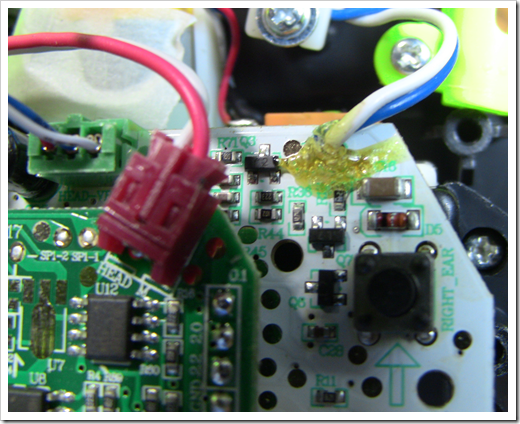
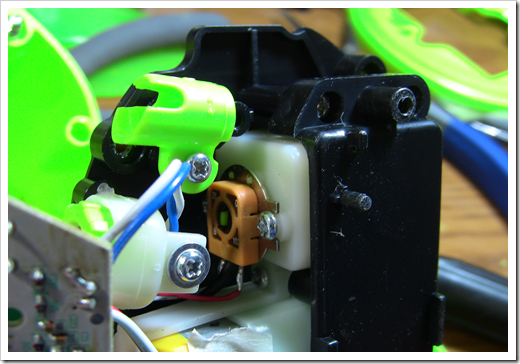
Speaking of encoders, here's the motor for the head. I'm not
sure what that orange thing is, but it looks a bit like an encoder
to me. It appears to have the motor power wires going into it,
though. Hmmph.
Hackable?
Clearly you can intercept the calls to the motors and LEDs and
replace them with whatever external logic you'd like, either
replacing the MPU logic or augmenting it. Without knowing what the
MPU actually is, I can't see that you can do much directly with it
otherwise.
So, when your 10 year old daughter tires of the thing after a
week (really, that's about the play value of one), after they've
heard the few jokes and tired of the conversation, trade her for
it. I wouldn't go out and purchase one just for hacking, though,
unless you know how to get into the brains of the thing.
Then again, you could sure make one mean Dancing Santa from the
motors and gears in that body :)