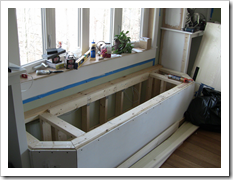
Today I made some more progress on the trim around the window
bench seat I built.
For reference, the wall the window is in was a blank wall when
we moved in. We had the bow window installed. I designed and built
the trim around the window, the bookcases and the bench seat all
from plywood, stock lumber, pine panels (for the seat itself) and a
little bit of trim. You can see pictures of that whole process at
the end of this post.
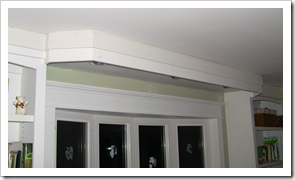
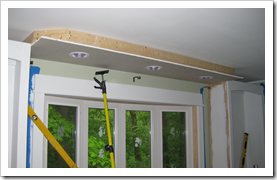
Today's work was creating a way to add some crown-like elements
to the valence that overhangs the seat. I couldn't simply extend
the crown that I've installed in the room as there's an awkward
join where the bookcases meet the valence. It's only about 2" deep,
so the regular crown would overlap itself in an annoying and
unsightly way.
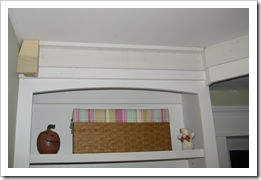
The Corner Block
To work around the awkwardness, I decided to terminate the
room's crown molding at a custom-made corner block. This is simply
a 2 1/2" by 3 1/4" or so poplar block made from a few pieces of
wood. The dimensions were based upon the measurements of both the
room's crown molding and the valence trim I'm building. The
opposite wall will have the mirror image of one of these.
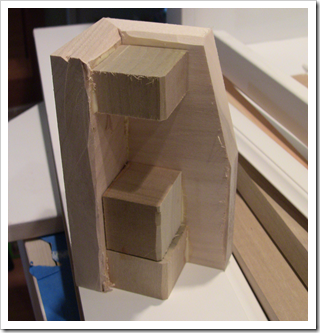
The corner of the block was roughly trimmed to allow the edges
to sit flat against the wall, and to allow me to line up the bottom
with the trim board on the bookcases. I also chopped off the top
corner of the part that will go behind the crown, as the wall had
some bow out up top.
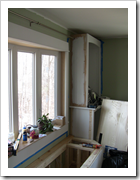
This photo shows the corner block in place on the left-side
bookcase.
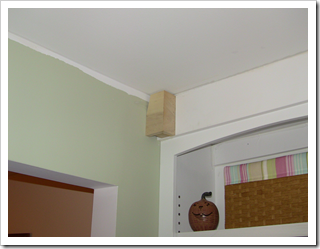
I'll put a cover on the bottom, and likely a coved support to
finish it up.
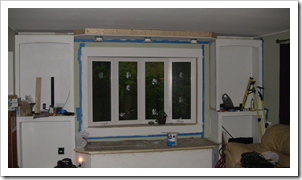
The Valence Trim Build-Up
Now I needed to create something relatively shallow, but
attractive. It also needed to tie in with the rest of the trim in
the room. Because the window trim is a flat board with cove molding
under it, I decided to do something similar, but smaller, and bring
that detail out to the valence. Here are the parts I used:
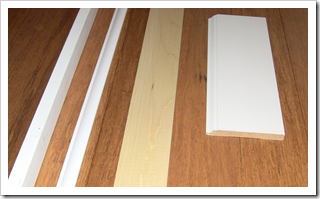
The pieces that make up the valance include a few pieces of
pre-primed MDF trim, one of those plastic-wood cove pieces, and
some 1/4" poplar. I used trim because I wanted as much pre-primed
as possible, as I know from experience that priming is
time-consuming and annoying on plain wood trim. If Lowes had 1/4"
lattice as wide as I needed, I would have ditched the poplar, but
alas, there was none to be found. Also notice how I used a piece of
regular 1/2" baseboard trim but hide the top ogee behind the wood.
I actually expose the base of that because I wanted something that
came in at least 7" length and was pre-primed.
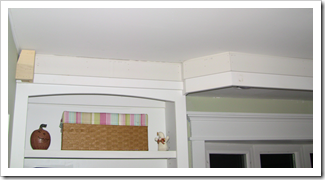
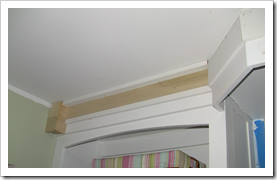
I have more trim to put up, including a small piece of coped
cove to fit in that little trouble spot in the corner.
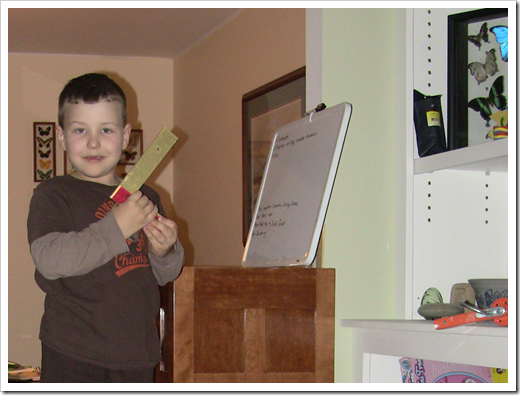
Oh, and my little helper decided the best way to help me is to
pretend my square is actually a gun ;)
Earlier Construction Photos
I don't recall how many of these I've posted before, but I don't
believe I put them on my blog, just Twitter. In any case, here are
some photos of the creation of the bench seat over time. Umm, pay
no attention to how much the seasons change outside that window.
Yeah, I work slowly :P
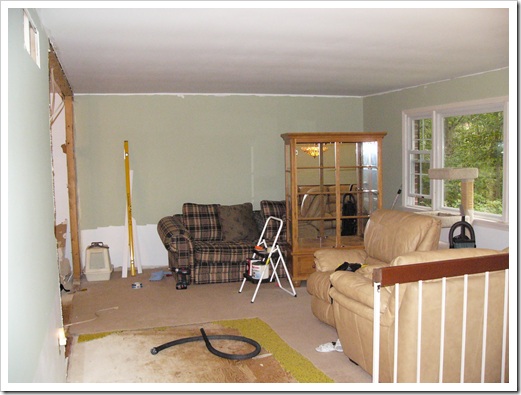
Oooh. I'm glad we got rid of that couch some time ago! And that
carpet. Oh, and that window. And that railing…
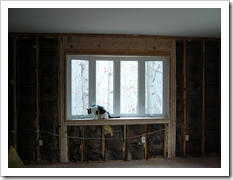
In late 2005, we had the living room window replaced with a bow
window, and had a second bow window installed in the east wall that
overlooks the woods and ravine. At the same time, we had the
contractors add more windows to the kitchen, replace the ugly old
deck doors with nice sliding glass ones and re-side the house. I
also completely renovated the kitchen (another on-going project0
and enlarged the opening to the kitchen from doorway size to around
8' across with an arch over it. We had electricians do this
electrical work, and contractors handle windows, doors, and siding.
Everything else, I did.
The end result was to add a LOT more light to the upstairs. The
house felt so closed before (common for houses built in the late
70s when windows were particularly leaky and so were kept to a
minimum)
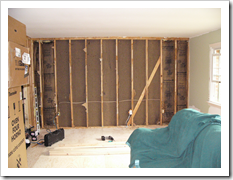

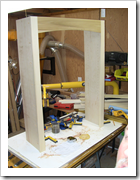
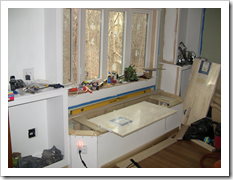
I started the bookcases and base cabinets in late 2010. The rest
of the construction is spread throughout 2011. It also involved
re-routing some electrical and networking cables, wiring lights,
moving outlets and more.
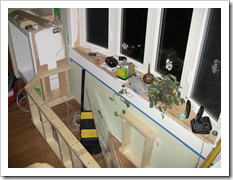
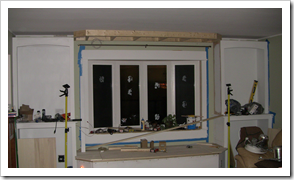
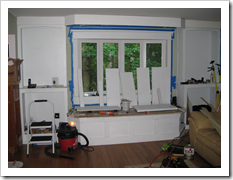
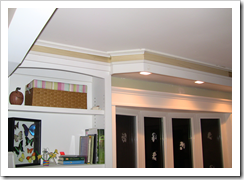
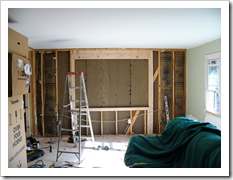
That brings us pretty much up to where it was today. Of course,
the shelves were all in put place and the shelf pin holes grommeted
after this last photo.
What's left to do?
- Complete the valence trim
- Trim the inside of the valence where the drywall meets it (same
cove I'm using outside)
- Doors on the bottom cabinets
- Final coat of trim paint over all that white primer (ugh. I
hates painting, my precious)
- Touch up the green wall where I filled the holes
