Around the middle of last year, I ordered an evalbot from Texas
Instruments. They were having an insane special on it at the
time for people who had attended an event in Boston. I got in on
that and got the eval kit for a great price. The kit is the
"Stellaris Robotic Evaluation Board for use with Micrium´s
µC/OS-III (EKB-UCOS3-EVM)"
From the TI Site, the evaluation kit includes the following
features:
- Evaluation board with robotic capabilities
- Mechanical components assembled by user
- Stellaris LM3S9B92 microcontroller with 256K Flash, 96K SRAM,
USB OTG, Ethernet MAC+PHY, and I2S
- MicroSD card connector
- I2S audio codec with speaker
- USB Host and Device connectors
- RJ45 Ethernet connector
- Bright 96 x 16 blue OLED display
- On-board In-Circuit Debug Interface (ICDI)
- Battery power (3 AA batteries) or power through USB
- Wireless communication expansion port
- Robot features
- Two DC gear-motors provide drive and steering
- Opto-sensors detect wheel rotation with 45° resolution
- Sensors for "bump" detection
While the primary programming model is C using a commercial or
GNU compiler, there has been at least one port of the previous version of the
.NET Micro Framework to this platform. Given the version of the
framework, and the relatively limited memory on the evalbot, the
.NET implementation is not likely to be as robust as what you find
on the netduino or FEZ
devices.
That said, the kit is very interesting, and I'm not adverse to
setting up an environment to play with it at some point. For now, I
put the kit together and ran it using the built-in test program. You can see a video of the first run here.
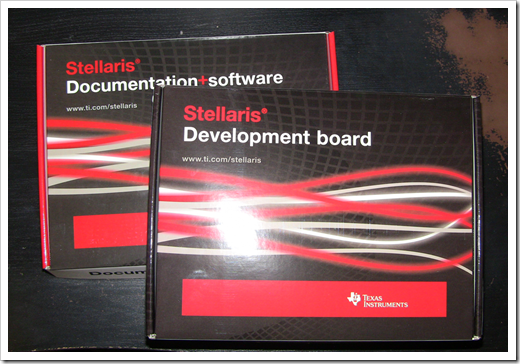
The kit comes in two boxes. The bottom one, despite the caption,
did not contain any actual software. Instead, it held the assembly
instructions, motors, hardware, USB cable and batteries.
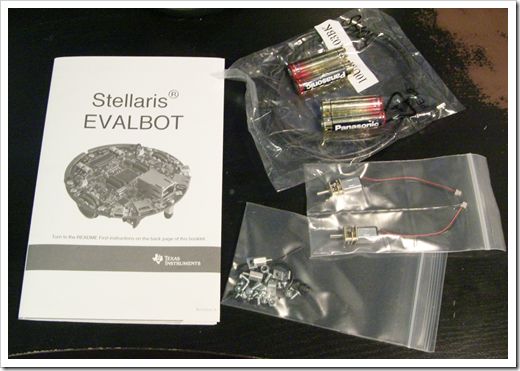
Here is what you'll find in that box. The instructions are a
fold-out map, and are brief but well done. You'll find information
on how to assemble the robot, as well as steps required to try out
the default program. You won't find any actual development
information in the box; that's all online.
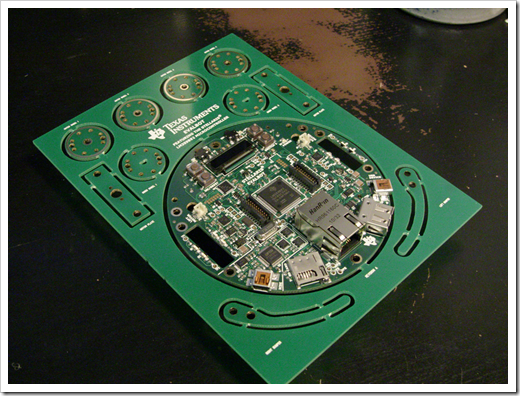
The top box contained a rather cleverly designed single-board
robot kit. In addition to the logic board, the motor mounts,
bumpers and wheels are all snipped out of the same five-layer
PCB.
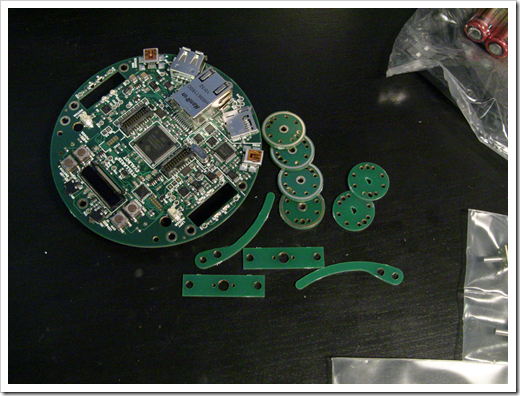
Here's the kit with all the pieces snipped out of the PCB. The
wheels are each made up of three layers of PCB attached using two
set screws with a rubber washer for traction. The robot main board
is 4" in diameter.
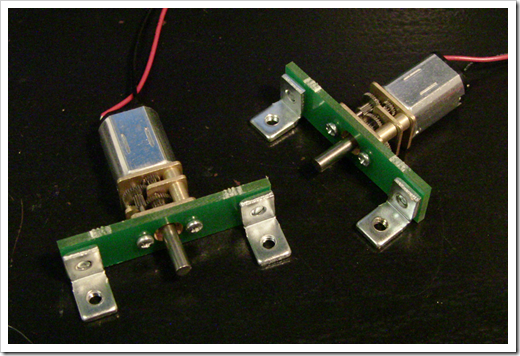
The motor mounts for the two tiny motors, which appear to be the
same types of motors you can find here. If it's
a 6v motor, it's only running at 4.5v.
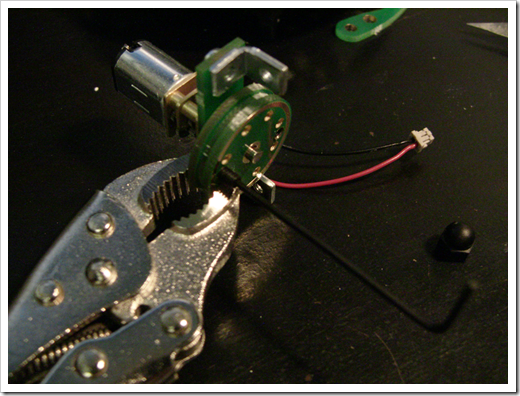
In order to install the set screw (hard to see in this photo)
without separating the wheel sandwich, I used a pair of tiny vise
grips.
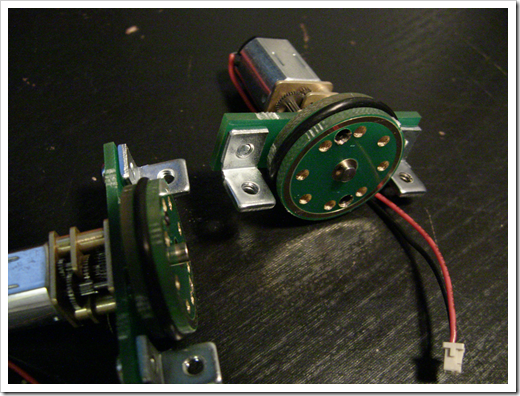
Here are the completed motor and wheel assemblies. The holes in
the wheels are for the opto-sensors on the board.
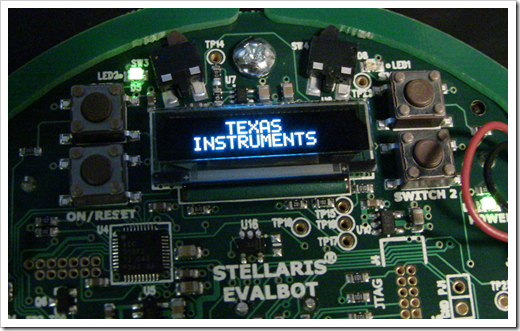
Time to boot up! The 96x16 OLED screen is absolutely beautiful.
Presumably you can put whatever you want on this using the C
API.
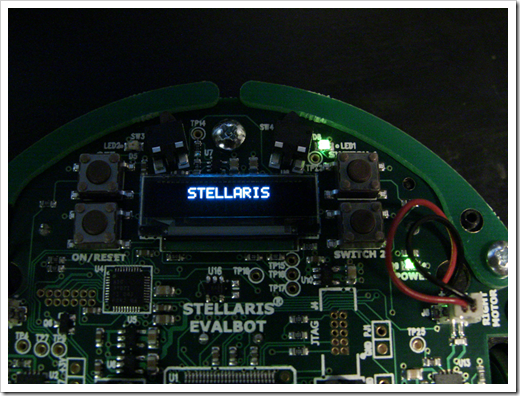
The OLED cycles between the two images shown here and some CPU
brand information. It's not showing anything particularly useful,
but it's interesting due to its tiny size and clarity.
The robot's all assembled! It's a novelty at the moment; I'm not
sure what I'll do with it when I get to it. However, I'm intrigued
by the sound codec on board as well as some of the sensor
possibilities. I need to finish some Netduino/TinyClr projects
before I dive into this one, but there are real possibilities
here.
If you want to see it run, be sure to check out my video on YouTube.
